Showing posts with label DIY. Show all posts

Tuesday, September 6, 2011

Shoes - - - - Check

Days Left: 4 days as of today

This is a gift from my good friend, Carla. The first shoes that she gave me was 2 1/2 inches small and it was way lighter that what I want for the color. So the next day she gave back the shoes to the supplier and waited until it was finished. Last Saturday 1 week before our wedding I got my shoes. It was plain though but still I have my shoes. I decided to put some life into it. So here goes:


(too plain for a wedding shoes)

(no flowers too)

(the materials)

(sparkly)

(no longer plain shoes)

(my semi-DIY shoes)

Thanks Carla for my shoes, and for scaring the supplier that gave us the wring size... :)


That's it. Till Next Time.

Happy Preps... :)


Friday, June 24, 2011

DIY: Our Quirky Rosary Cord - - - - Check

Days Left: 77 days as of today

When I finally finished our wedding cord, I immediately showed it to h2b. He's really impressed of what I did, because at first he can't picture it out. Every time I buy something bit by bit for the cord like the initials and the crucifix he kept on asking me "what for?!" This has been a trial and error project for me. At first I don't want to use pins because I'm scared it might get caught with my gown or h2b's barong but when I tried to use a thick nylon it's too heavy, so I just used the pins I just made sure that eveything is intact.


Excited much to post this DIY... :)


(L-R, top-bottom)
(our motif beads, pic 2-4 trinkets, pic 5 initials and crucifix, my trusty and rusty pliers and long nose)


Steps: (Hope you understand this)

1. Insert the pin into the beads. If there's an excess on the pin you can cut it using your pliers.
2. Twist the other end part of your pin. Secure your eye (the twisted part of the pin) to make sure that the other pin that will follow will not be detached.
3. Insert the other eye of your beads to the first one. Until you form a chain. (It is easier for me to finish a set of "eye-bead-eye" before I put another set than doing a few sets then removing the eye to connect to form the chain)
4. Continue making the chain to form at least 50 inches before you connect the chain to a trinket of your choice.
5. Do a second chain by doing steps 1-3.
6. Connect your chains or rosary, if you prefer it more, to a ring or a trinket of your choice.
7. Secure every eye that you make just to make sure that everything is in place and will not fall off easily.


I bought the beads and the trinkets at Welmanson. The crucifix I bought it at St. Paul in SM North and the letters in a bead shop I forgot the name it's in Trinoma. The other materials like the pins and the pliers I have it before when I use to do my own earrings, but they have it at Welmanson as well.


That's it. Till Next Time.

Happy Preps... :)

Thursday, June 9, 2011

Entourage Gift - - - - Check

Days Left: 91 days as of today

Since we have a school themed wedding we want to incorporate at least what we can with our theme. So Charles & I decided to give "Bag tags" for our entourage.


(our bag tags, it is lacking one more tag)


When we got the Bag tags Charles wanted to get his already and use it. :) Excited much. Again sorry for the blurry pics I just used my phone cam. I'll just update the pics soon.


That's it. Till Next Time.

Happy Preps... :)

Invitations - - - - Check

Days Left: 91 days as of today

We got our invitations this morning. :) As in this morning like 8:30am. :) You can read my blog here:
http://colormyworldteal.blogspot.com/search/label/invitation

But that was just the layout & I think it was missing something. but when I put the wordings already and when we saw the final print out of our Invitation. We just loved it. H2b is so proud of my work. :)

Here it is. Our Final Invitation.

(Our Invitations)

(Front and back)

(Main Invites & Our Insert)

(Insert)

Sorry for the blurry pics. When I got the invitations I instantly took pictures of it.

Can't wait to put it on our DIY envelopes and give it away. But for sure I will keep one and haveit framed for us to remember the most special day. :)


That's it. Till Next Time.

Happy Preps... :)

Tuesday, January 25, 2011

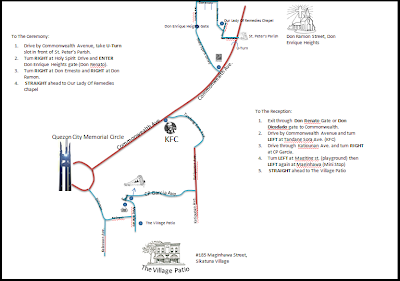
The Beginning of Forever

Days Left: 227 days as of today

Things you will need:
  • Power Point (any version)
  • Copy of the map (be as accurate as possible, I used www.weddingmapper.com)
  • Images of the church, reception and some landmarks (I got mine on Google, or you can use actual pictures)
Instructions:

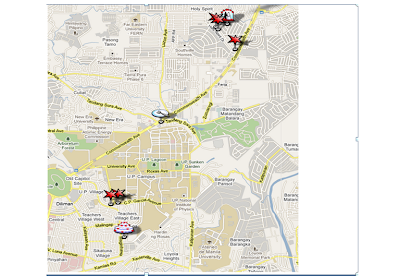
  • What we did first is make the map using wedding mapper.
  • Then Print Screen and copy paste it to Paint. Then I cropped just the places that needs to be placed on the official map, then save.
  • Open Power point.
  • Insert the Image on a blank page
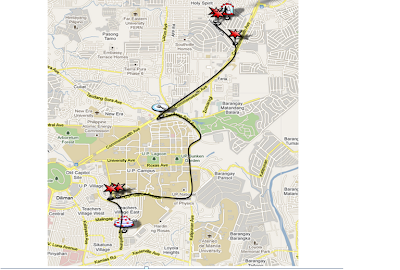
  • Using the "CURVE" tool, draw a line from the Ceremony to the reception, by just tracing the map. Be as acurate as you want to be.

(it's okay if your line is not perfect)
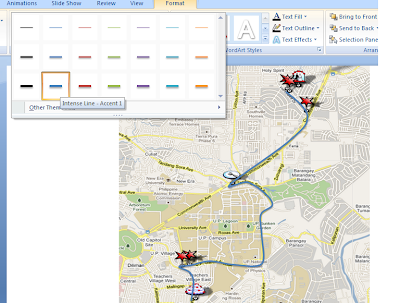
  • Change the color and thickness to differentiate the main road, minor roads, etc.

(it's a lot of work)
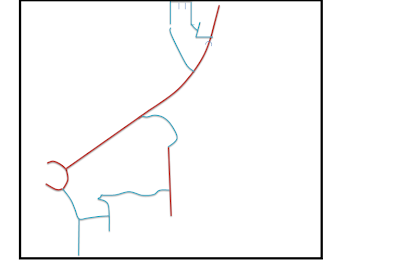
  • Once you draw the lines that need to be included in your wedding map you may remove the original map.

  • That will be the framework of your map.
  • Now you can start putting the Church, Reception and landmarks on your map.
  • You can also put directions if you want.
  • Be as creative as you want.

  • If you're happy with your work, save it.

I want to thank:
http://sweetsimplejoys.com I got the idea from this blog.

That's it. Till Next Time.

Happy Preps... :)


Friday, January 14, 2011

Invitation Layout

Days Left: 237 days as of today

Finally, the first thing I did when I got my laptop was make our invitation layout. I spent at least 3 hours with the layout. We wanted a simple invitation, he's satisfied with the output but I think it's too plain. So feel free to help me decorate it some more. =)

(the first one is our insert, the second one is our main invite)

What we will do is use fold the Bigger paper (2nd picture) in half and put the insert inside that folded paper... hmmmm... =) So what's missing?

That's it. Till Next Time.

Happy Preps... :)


Saturday, July 17, 2010

Pass them a Note

Days Left: 418 days as of today

I've been in Quarantine for the past 3 days due to cough, colds and back ache, so I decided to do some light DIY work for the wedding. Here it is:

(I used adobe photoshop)

(10 picture notes per table)

We will put this picture notes per table for our guests. So that they can give us their wishes and pieces of advice.

Steps to follow... soon... =)

That's it. Till Next Time.

Happy Preps... :)


Thursday, June 3, 2010

Table Letters

Days Left: 462 days as of today

Finally! After months and months of editing, changing colors, fonts, & design. We made our decision regarding our Table Numbers, I mean Letters. Here's some of it.

Why "Table Letter"?

At first I made a batch in Numbers. I made like 3 batches. Then just last night Charles & I decided to make it letters instead. Since we will be having a Movie Themed Wedding. Just like in Movie Theaters, when you get your ticket you choose from seat letters & numbers. (ie. Isle A seat 1 & 2). That's how we came up with this.

We don't know yet what standee to use for this but Charles is thinking of using a stairs for it. Hmmmmmm.... is this our next DIY? :)

That's it. Till Next Time.

Happy Preps... :)


Sunday, May 23, 2010

New Monograms

Days Left: 474 days as of todaySo I made our new batch of monograms recently. I just copied the old one and changed the colors. I made 3 kinds and I liked the 1st one but Charles liked the 2nd one.

(My vote)


(Charles' vote)


(I like the design on this one but i think it's too plain)

If we don't make a final decision I think we will stick with our first decision on our first batch of monograms. What decision? Have 2 monograms... :)

That's it. Till Next Time.


Happy Preps... :)

Saturday, April 3, 2010

100 bottles

Days Left: 195 days as of today


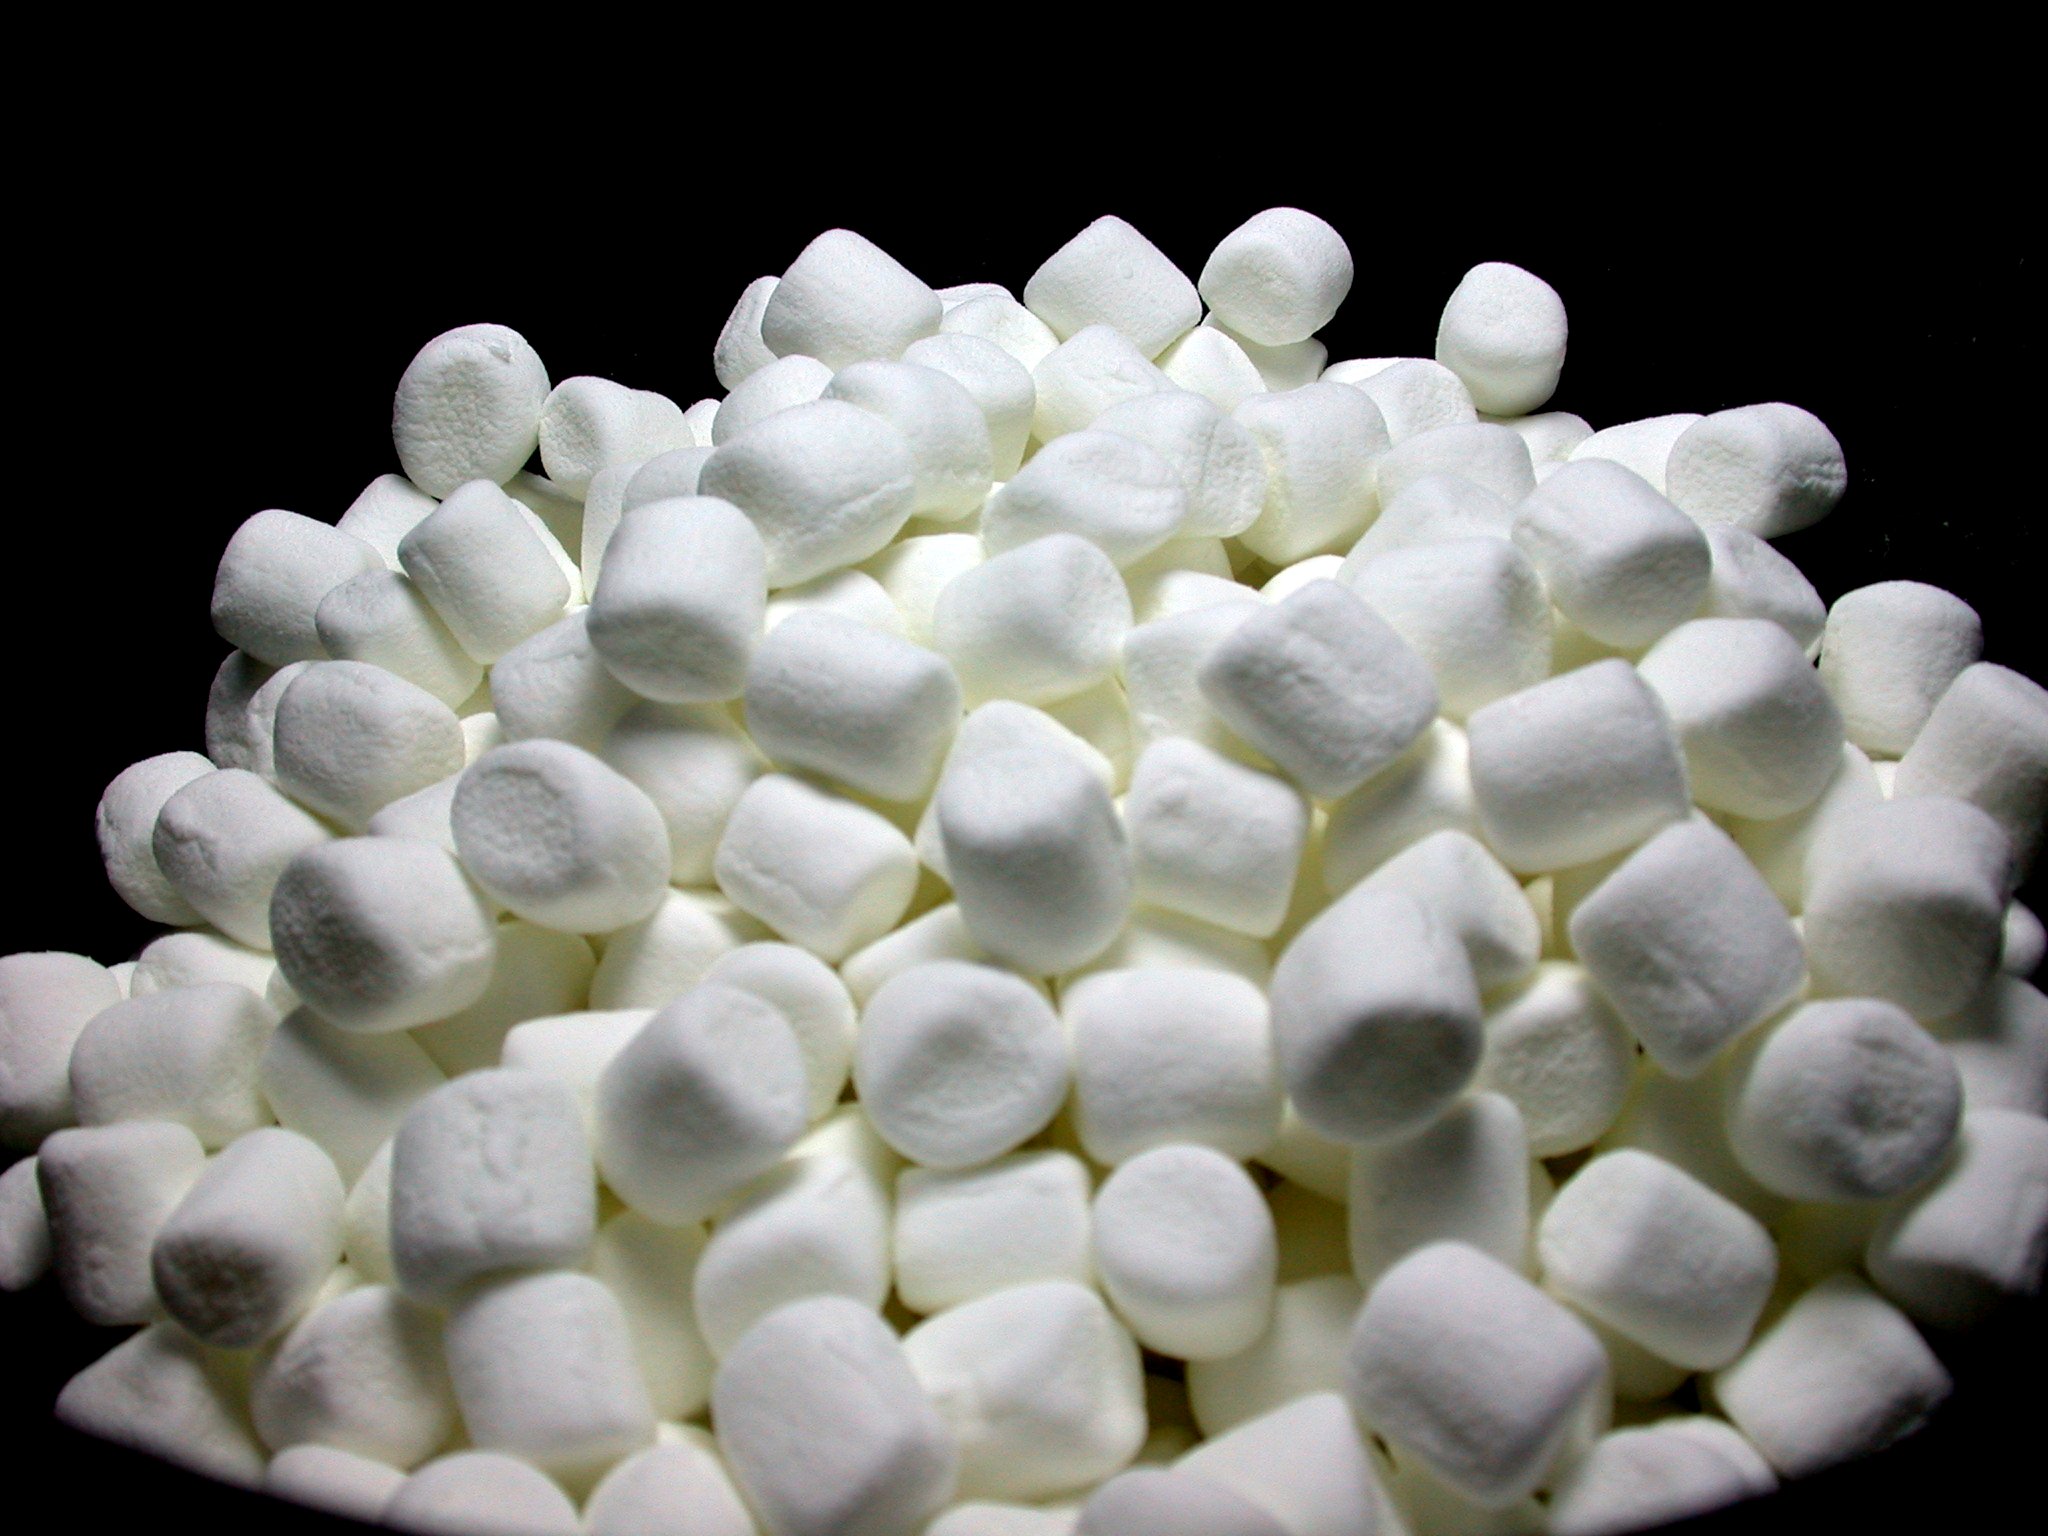
It's Black Saturday and I finished my 3rd DIY project. Bottles for our souvenirs. We don't know yet what to put here. We have 3 choices: Mini Kisses, Mini marshmallows or Mini nips.


Oh yeah here's the bottles:

(100bottles with ribbon and pearl)

(with ribbon, cork & pearl)


(out of a hundred
bottles there will always be one different bottle)


That's it. Till Next Time.

Happy Preps... :)


Monday, February 22, 2010

Long list of my DIY

Date: Jan. 15, 2010 (Friday)
Days Left: 235 days as of today


Let's scratch this one on my long list of DIY projects... :)
I'll give this to my female ento simple and I'm proud of it, so as Charles... :)

Materials Needed:
1. Scissors
2. Glue gun and glue sticks
3. Double sided tape
4. Loose feathers

5. Headbands
6. Velvet Lace
7. Crystal

Procedure:
1. Cut the Lace according to the size of the headbands. Put double sided tape on the lace and place it carefully on the headband.
2. Mock up the design of your loose feathers. Use glue gun on the loose feathers.
4. Place the crystal on the middle of the last part of your feather.

Finished Product:


Thanks to my friend Carla, who helped me with the designs and went with us to divilandia... :)

That's it. Till Next Time.


Happy Preps... :)


~*~*~*October~*~*~